
Showing posts with label awesome. Show all posts
Showing posts with label awesome. Show all posts
Thursday, March 15, 2012
Playing with Thea
Today I have been playing around with Thea Render a bit. Here is one of the Example Models I applied some material to and rendered. This could turn out to be really fun!
 This image is composed of three textures. One for the floor, one for the Thea logo, and one for the white tiling. Other elements is that the entire model is surrounded by a box with a light emitting surface made to look like a window so you see that reflection on the surface. Time to go play more!
Until next time~
This image is composed of three textures. One for the floor, one for the Thea logo, and one for the white tiling. Other elements is that the entire model is surrounded by a box with a light emitting surface made to look like a window so you see that reflection on the surface. Time to go play more!
Until next time~


Monday, February 20, 2012
Camera Posts in Rhino 4
Hi guys. Today I am going to be doing a quick tutorial on making rhino camera shots. Its quick and dirty. I am Helping out a friend tomorrow on this subject and just wanted to make sure I can still do it so here we go.
First I've set up a basic land form that you may want to camera shot different angles of.
 This first thing you want to do is make some "camera posts". Now usually if you want a specific view you are trying to get a view of a human at your site. So I've made my camera posts 5.5 feet tall and put them at several corners of the landscape. You can put these posts anywhere you wish. Its easiest to put them at corners, edges, intersections, etc because then you can snap the end of your line to one of those objects, just make sure your snaps aren't disabled at the bottom of your screen.
 This is the landscape in perspective view after the posts have been added. Also when you are drawing your post lines make sure you are holding shift on the vertical scale so that your posts are strait. make sure you draw them in them first in the top view then finishing them in the front or right view to ensure that you aren't flying off into space.
 So now you want to first double click the perspective title in the perspective viewport. Then right click that and hover over "set camera" then on the next menu click "set camera and target".
Then with click the top of the post you wish to be the source of your first view. Then with the second click on where you want the view to be looking. You will probably get something like this. pretty narrow viewport.
So now you want to first double click the perspective title in the perspective viewport. Then right click that and hover over "set camera" then on the next menu click "set camera and target".
Then with click the top of the post you wish to be the source of your first view. Then with the second click on where you want the view to be looking. You will probably get something like this. pretty narrow viewport.
 So here I wanted to get a slightly more panoramic view so double click the perspective title again to go back to your four viewport screen. Then in top view click release then click and drag slowly the edge point of the camera box to widen the view. If you cannot see your camera outline thus are not able to manipulate it right hit F6 or right click the perspective title >>> set camera >>> show camera.
now you should have a more desirable view.
So here I wanted to get a slightly more panoramic view so double click the perspective title again to go back to your four viewport screen. Then in top view click release then click and drag slowly the edge point of the camera box to widen the view. If you cannot see your camera outline thus are not able to manipulate it right hit F6 or right click the perspective title >>> set camera >>> show camera.
now you should have a more desirable view.
 Now to save your view you want to click and hold the little car icon at the top of your screen. and click the grey car with the floppy disc icon next to it. The command bar is going to request a name but be sure that when you name your view you DO NOT include any spaces in the title. You pressing space bar will end the titling and start new commands. Once your view is saved you can always access/manage it by pressing and holdign the red car again but this time clicking on the grey car with the pointing finger above it. Click the title of the view you want and your set! These views will exist regardless of what new modeling is added or old modeling is manipulated, You can even delete or hide your camera posts for rendering. Hope this helps!
Until next time!
First I've set up a basic land form that you may want to camera shot different angles of.


Until next time!
Monday, February 6, 2012
LID Enhanced Greenways and Stops as Destinations
Hey guys, today we met with community members of Ballard and bounced some ideas off them on the future of Ballard around a series of Rapid Ride Stops. It was a good experience and it always helps to work with real people to get a sense of real world concerns. I have found myself concerned more and more with the financial side of projects. I was telling my partner today, I dont see a beautiful canopy spread across the intersection, all I see is a giant $ falling crushing the entire project from reality. What I am interested in is rooting out community support and community groups that are already established and working with them to make some of the project cheap, and thus more likely to happen. Because in the end what does it always come down to? Will power and money? Mostly money. Here is a couple photos I took while working in the studio on Sunday for the Monday meeting.
I should mention those green corridors being sketched out are planned to be Low Impact Developement (LID) enhanced greenways, meaning that they share the road with the little vehicular traffic that exists there.


 Next we move into the digital stage and further look into funding and areas that we can possible do some rezoning....touchy.
Until next time! :D
I should mention those green corridors being sketched out are planned to be Low Impact Developement (LID) enhanced greenways, meaning that they share the road with the little vehicular traffic that exists there.


Until next time! :D
Tuesday, December 20, 2011
Early Christmas Present
Happy Holidays! Today I decided to get myself an early Christmas present that I can't wait to install. Its the Adobe Creative Suite CS 5.5 design premium!
It comes with Photoshop Extended, Illustrator, InDesign, Dreamweaver, Flash Professional, Flash Catalyst, Fireworks, Acrobat X Pro, as well as Bridge, Device Central, and Media Encoder.
I've been holding off on this purchase for a long time, and I've really been wanting to do some work in Flash and Dreamweaver. I'll make the time! Anyways this was a debate between the Design Premium suite and the Web Premium suite. The reason I decided to go with the Design Premium was it has almost all of the web premium minus Flash Builder BUT the web premium lacks InDesign. I really like InDesign. Anyways this should help me on my way to amazing! Oh! and since I get mad discounts as a UW student all for 380 after tax... not too bad.
Until next time!


Thursday, December 15, 2011
Working from the Sunny State
So yesterday I submitted my final model for my Rhino modeling class and here are a few pictures of it. A couple things I definitely could have done better if I summed up the motivation was variate the fern rotation and scale a bit more, definitely should have done a better job on marsh grass. Somethings I still need to figure out is how to make face-me objects, for those of you who don't know what that is, it is just an image that turns and always faces you as you are orbiting the model, I don't think it does so well with shadows though. If you didn't see the earlier version you can check out a picture here. Anyways I may continue to work on this model for a piece of portfolio as it is not quite up to standards as of yet. Take a look at some of the pictures below! AND if you would like to support me take a look (and by take a look I mean click) some of the advertisers on my page!


 Other news.
So I had my telephone interview with the firm I mentioned previously and it seemed to go ok. I don't know if I'll be selected but the interviewer and I seemed to hit it off well. I hope to get the position but I am ok with not getting it too. If I don't I'll find something somewhere else soon! I'll keep you guys updated. Also on another front, my partner and I have decided to submit to the ASLA awards the Orcas St. Housing Project later in the New Year. I hope to be more thoroughly involved in the submission process and I think it's going to be a good experience winning or not. Some things to be aware of if you find yourself in a similar position is the 50 dollar fee to become a student member of ASLA and the Entree Fee for the project itself! You can look at some of the PRE REVISED graphics in my earlier post here.
Until next time!
Other news.
So I had my telephone interview with the firm I mentioned previously and it seemed to go ok. I don't know if I'll be selected but the interviewer and I seemed to hit it off well. I hope to get the position but I am ok with not getting it too. If I don't I'll find something somewhere else soon! I'll keep you guys updated. Also on another front, my partner and I have decided to submit to the ASLA awards the Orcas St. Housing Project later in the New Year. I hope to be more thoroughly involved in the submission process and I think it's going to be a good experience winning or not. Some things to be aware of if you find yourself in a similar position is the 50 dollar fee to become a student member of ASLA and the Entree Fee for the project itself! You can look at some of the PRE REVISED graphics in my earlier post here.
Until next time!


Sunday, December 11, 2011
Final Submission
So today me and my partner put together some pages of 11 x 17 to submit to our professor for grading. These pages will also be given to the city of Redmond to show and consider at future meetings concerning the park system. Hopefully its helpful. Comments are welcome!
Until next time~


 On other notes, so far California has been great. Pretty cold down here. Tomorrow I have that phone interview. I actually looked at the land8 lounge blog for some tips on what types of questions to expect and what types of questions to ask, but they all seemed geared more towards professionals seeking jobs, not a student looking for an internship. I'll let you know how it goes!
Wish me luck!
On other notes, so far California has been great. Pretty cold down here. Tomorrow I have that phone interview. I actually looked at the land8 lounge blog for some tips on what types of questions to expect and what types of questions to ask, but they all seemed geared more towards professionals seeking jobs, not a student looking for an internship. I'll let you know how it goes!
Wish me luck!


Thursday, December 8, 2011
Tips and Tricks learned from yesterday's presentation
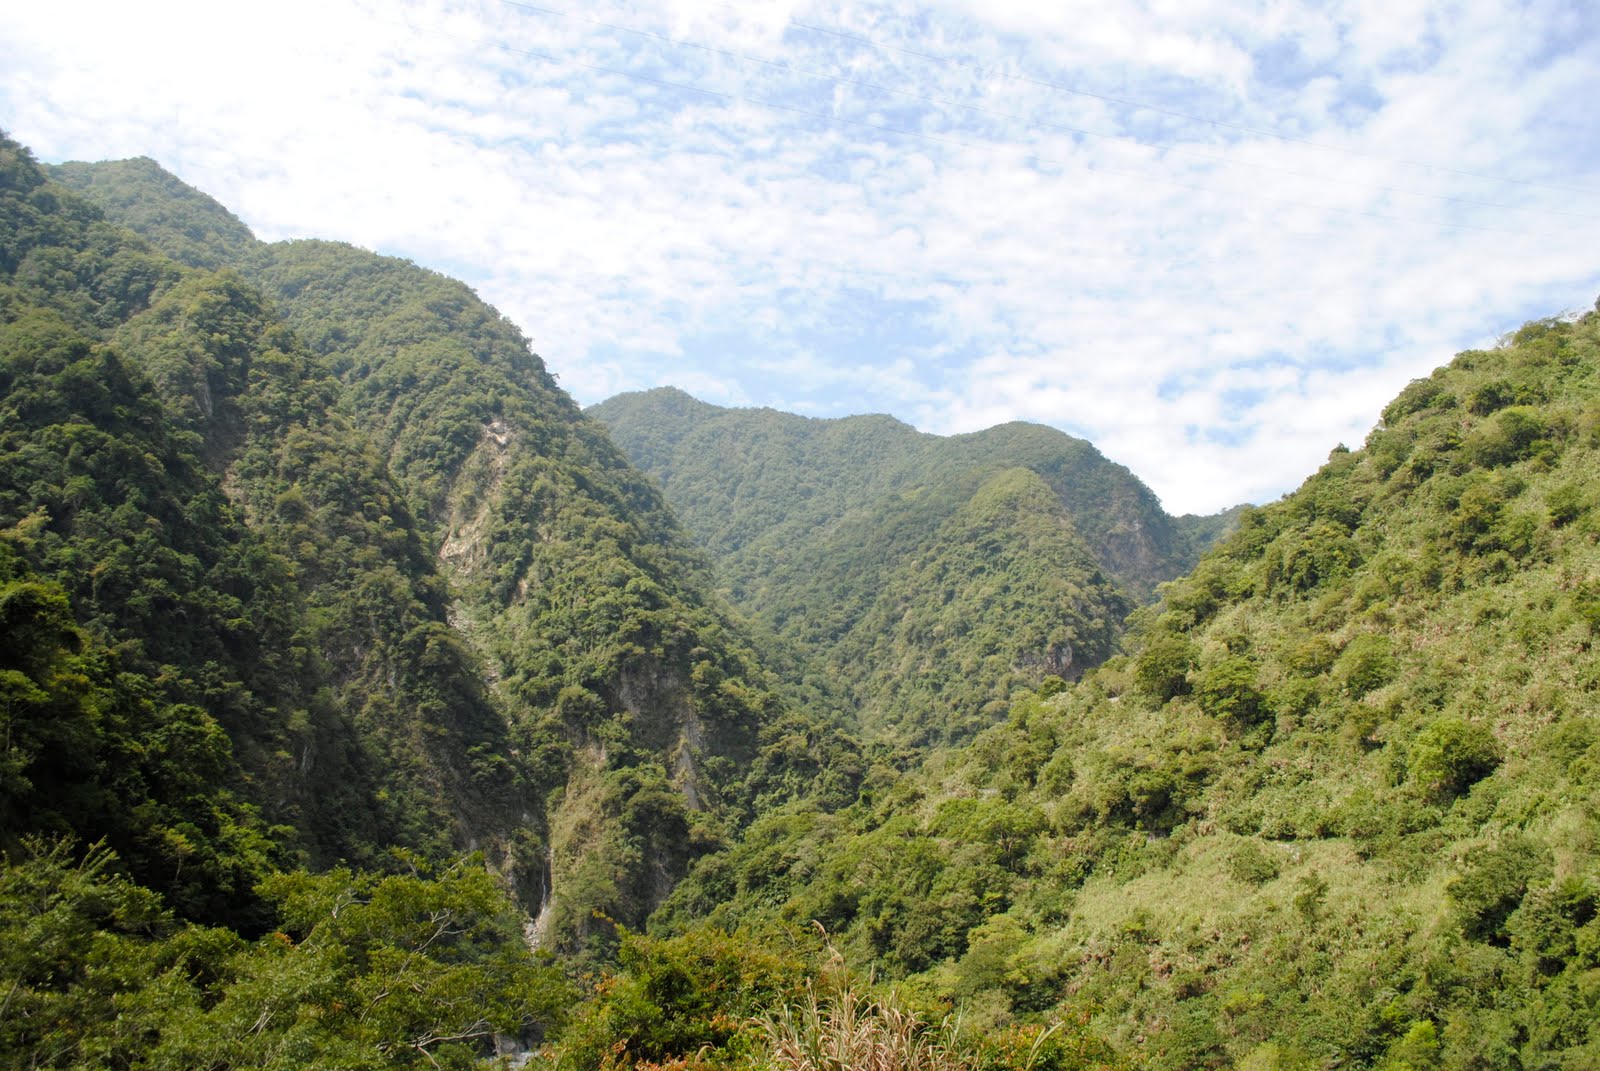
Relief, oh sweet relief. I feel so calm like the above picture I took in Taiwan this summer. A huge burden lifted off the shoulders. You know the feeling? So today we presented our work of the last few weeks to a panel of professors and professionals. I'd say it went fairly well but there are a couple of things
learned that I definitely want to share with you. First of all, presenting digitally is a whole different ball game than presenting on plots. For most of our presentations we decided
to use a site called prezi, a flash presentation site that has some cool features. Using the site you can zoom in and out of graphics, hide graphics within other graphics and reveal and a load of other things. However it can all be a bit overwhelming. There was one group that decided to go classic and plot out their boards rather than use digital and graphically I think there's was the best. I am now seeing why boards are the prefer medium for reviews like this. It is really easy to go back and look at specific graphics and remember specific talking points when all the graphics are right there in front of you at the end. In a power point or prezi format you must cycle through the images until you find the one the reviewer wants to talk about. This ended up being the dilemma for most of the presentations. However the traditional board had its imitations too. I dont think that the perspective views were as successful as they couild have been in a digital format. That being said I have come to be convinced that the best way is to have a plotted board/s up on display but simultaneously have the digital format for the main presentation. Then during reviews the reviewers can refer back to the printed boards. The other option is to set up 2 projectors each with a "plotted" board displayed on a prezi or a simple PDF and zoom in and out of those. I think for my next presentation I am going to try doing this on a prezi. Last tip, when working with prezi be very careful about the size of the images and types of images you upload. Uploading 2 flash documents has made our presentation essentially unopenable on the prezi website due to lack of memory. BEWAREEEE it could happen to you!!
Until next time!
Tuesday, December 6, 2011
Lets keep each other company shall we?


 Update!
Sunday, December 4, 2011
Under the Bridge
 Here we have an in progress view of a portion of the site we are working on. We're exploring the possibility of Microsoft Hardware Kinect being implemented into public spaces (it has quite a bit already) to make parks digitally interactive with very little maintenance cost. This also will allow for changing of software from time to time to re-engage the public over and over again.
Have to add textures now!~
Until next time :D
Here we have an in progress view of a portion of the site we are working on. We're exploring the possibility of Microsoft Hardware Kinect being implemented into public spaces (it has quite a bit already) to make parks digitally interactive with very little maintenance cost. This also will allow for changing of software from time to time to re-engage the public over and over again.
Have to add textures now!~
Until next time :D
Saturday, December 3, 2011
Late Nights Have Come

The difficulty of applying to Internships

Wednesday, November 30, 2011

Tuesday, November 29, 2011

Monday, November 28, 2011

Subscribe to:
Posts (Atom)